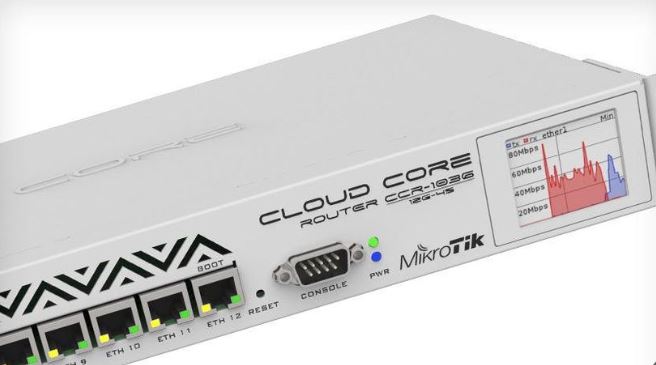
If you own a MikroTik RouterBoard and want to convert it into a Hub/Switch to connect multiple devices on the same local network (LAN) without routing functions, you’re in the right place! In this comprehensive guide, we’ll walk through how to configure a MikroTik router to function as a Layer 2 switch, with detailed step-by-step instructionsConvert MikroTik Router to Hub/Switch
Router vs. Hub vs. Switch: What’s the Difference?
Before we begin, it’s essential to understand the key differences:
- Router: Directs traffic between different networks (e.g., the internet and LAN).
- Switch: Connects devices within the same LAN and efficiently forwards data.
- Hub: Broadcasts data to all connected devices (less efficient than a switch).
In this guide, we’ll convert the MikroTik RouterBoard into a Layer 2 switch, which offers better performance and security compared to a hub.Convert MikroTik Router to Hub/Switch
Why Convert a MikroTik Router into a Switch?
- Save money by repurposing an old MikroTik router instead of buying a separate switch.
- Efficiently manage network traffic across multiple ports.
- Use advanced features like VLANs and QoS if needed.
- Convert MikroTik Router to Hub/Switch
Step-by-Step Guide to Convert MikroTik Router into a Switch
1. Access the Router’s Interface
- Open Winbox or the web interface by entering the router’s IP (usually
192.168.88.1). - Log in using admin credentials (default username: admin, password is often blank).
2. Reset Configuration (Optional but Recommended)
For a clean setup:
- Go to System → Reset Configuration.
- Select No Default Configuration.
- Click Reset Configuration and reboot the device.
3. Disable Routing Functionality
- Navigate to IP → Routes.
- Delete all default routes if present.
- Go to IP → DHCP Server and disable DHCP if active.
4. Create a Bridge to Combine Ports
To make all ports act as a single switch:
- Go to Bridge → Add New.
- Name it (e.g., bridge-local).
- Under Ports, add all Ethernet interfaces (ether1, ether2, etc.) to the bridge.
5. Remove IP Addresses from Interfaces
- Navigate to IP → Addresses.
- Delete any assigned IP addresses (e.g., on ether1).
6. Disable Unnecessary Services
For better performance:
- Go to IP → Services.
- Disable unused services like Winbox, SSH, or API.
7. Test Connectivity
- Connect two devices to different ports (e.g., ether1 and ether2).
- Ensure devices get an IP from an external source (e.g., another router) or set a manual IP.
- Test data transfer between devices to confirm the switch works.
Advanced Optimizations (Optional)
1. Enable VLANs if Needed
To segment your network:
- Go to Bridge → VLAN.
- Create VLANs and assign them to specific ports.
2. Configure QoS for Bandwidth Control
- Navigate to Queues → Simple Queues.
- Add rules to limit speeds for specific devices.
3. Secure the Switch from Attacks
- Go to IP → Firewall.
- Add rules to block unauthorized access.
Practical Uses for a MikroTik Switch
- Connect multiple office devices in a LAN.
- Set up a lab network for testing.
- Use as a managed switch with VLANs and QoS.
Common Issues & Fixes
| Issue | Solution |
|---|---|
| Devices can’t communicate | Ensure all ports are added to the bridge |
| No internet access | Verify the switch is correctly connected to the main router |
| Slow network performance | Adjust QoS settings or check for network loops |
Conclusion
Converting a MikroTik router into a switch is simple if you follow the correct steps. This setup is ideal for repurposing old hardware or avoiding the cost of an extra switch. You can also leverage advanced features like VLANs and QoS for better network efficiency.
If you encounter issues, refer to MikroTik’s official documentation or seek help in technical forums.
